

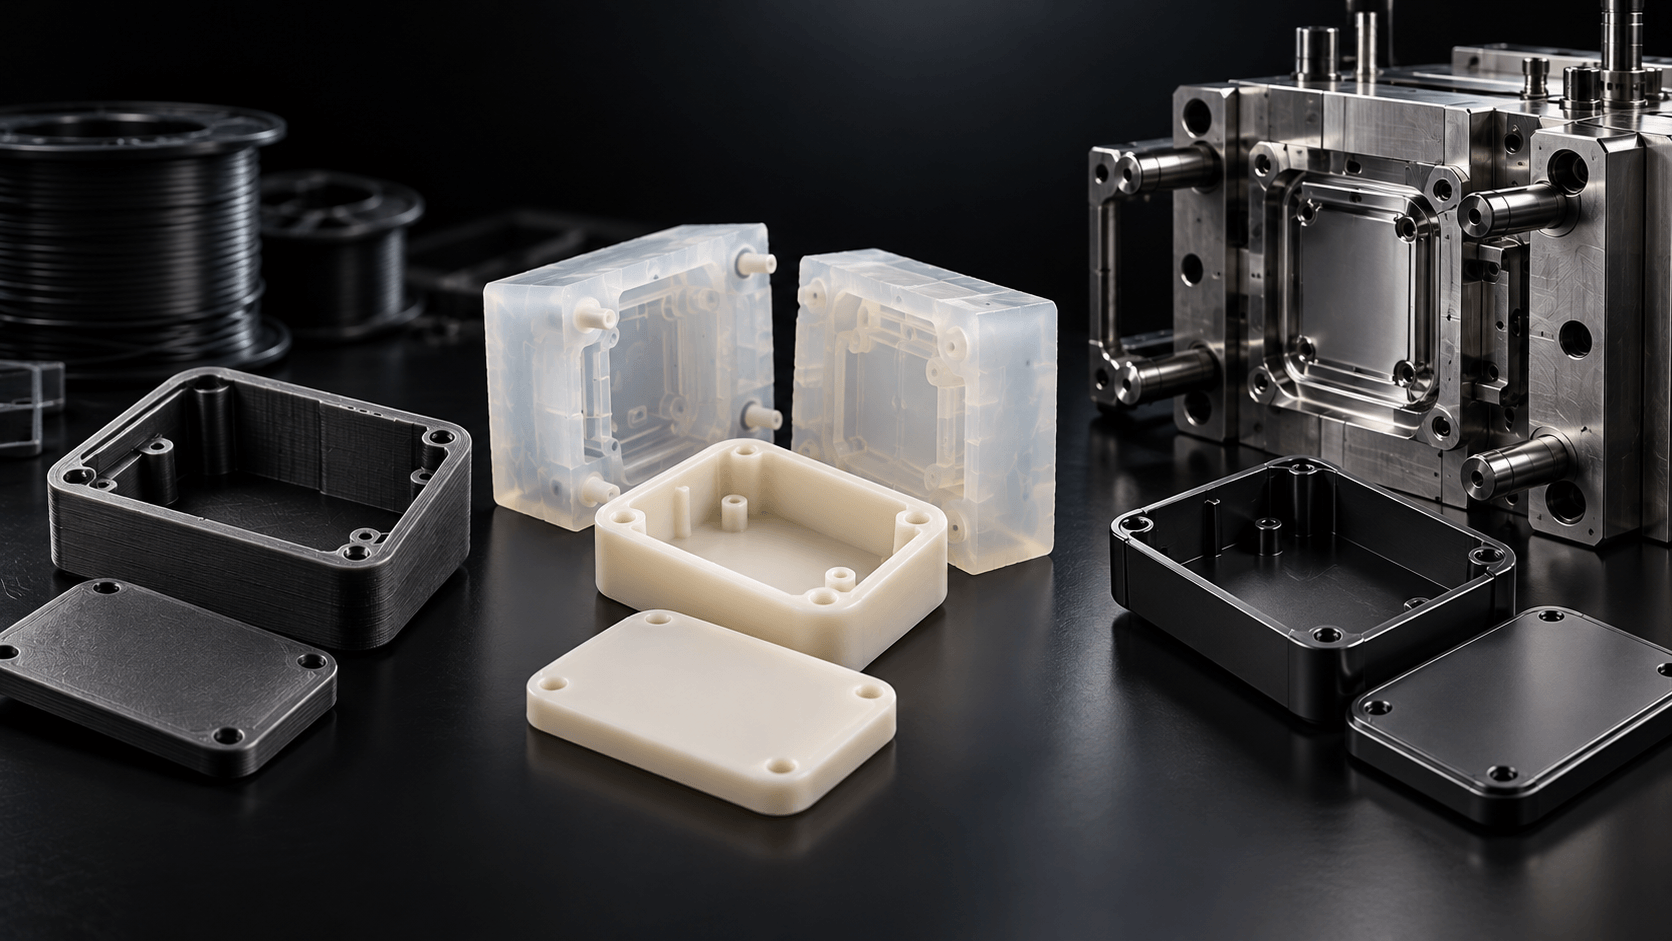
“How much will my enclosure cost?” is the first question almost every hardware team asks us, and the honest answer is: it depends far more on how many you need than on the box itself. The same 120 mm housing can cost the equivalent of US$50 as a one-off 3D print, or less than US$2 per set once it is injection molded in the thousands.
This guide breaks down what a custom plastic enclosure really costs in 2026 using the three processes most products move through: 3D printing, vacuum casting and injection molding. You will find price ranges by quantity, a worked example for a typical IoT sensor housing, the extra costs people forget, and practical ways to bring the price down. The figures are based on 2026 price ranges from Precious3D, a custom enclosure manufacturer in Chennai that ships to clients in India and abroad.
Quick answer
- 1–20 units: 3D printing is usually cheapest – roughly ₹2,000–5,000 (about US$21–52) per two-part enclosure.
- 20–100 units: vacuum casting gives production-like finish and materials at roughly ₹2,100–6,600 (US$22–69) per set, including the silicone molds.
- 100–300 units and up: injection molding with a prototype tool usually becomes the cheapest option. Tooling for a two-part enclosure typically runs ₹1.5–2.5 lakh (about US$1,560–2,600); parts then cost tens of rupees each.
- Design, finishing, inserts, EMI coating, printing, packing and shipping are extra – budget 15–30% on top.
Indicative 2026 ranges for a medium-sized enclosure, excluding GST and shipping. USD converted at about ₹96 = US$1 (October 2026).
Enclosure Cost by Process and Quantity
The table below uses one realistic part so the numbers are comparable: a two-piece ABS housing (base + lid), about 120 × 80 × 40 mm, 2.5 mm walls, four screw bosses and a light texture, with no painting. Prices are per complete set and include each process’s tooling cost spread over the quantity.
Swipe sideways to see the full table →
| Quantity | 3D printed | Vacuum cast | Injection molded |
|---|---|---|---|
| 1 set | ₹2,500–5,000 (US$26–52) | Not economical | Not economical |
| 20 sets | ₹2,000–4,500 (US$21–47) | ₹2,900–6,600 (US$30–69) | Not economical |
| 100 sets | ₹1,500–3,000 (US$16–31) | ₹2,100–5,000 (US$22–52) | ₹1,560–2,650 (US$16–28) |
| 500 sets | ₹1,200–2,500 (US$13–26) | Not ideal (molds must be remade) | ₹360–650 (US$3.80–6.80) |
| 1,000 sets | Rarely sensible | Rarely sensible | ₹210–400 (US$2.20–4.20) |
| 5,000 sets | Rarely sensible | Rarely sensible | ₹90–200 (US$0.90–2.10) |
Green = usually the lowest cost per set at that quantity. Indicative 2026 ranges excluding GST, design, finishing and shipping; your quote will depend on your exact part.
Two things stand out. First, the three processes overlap around 50–300 units, so in that range finish, material and lead time often decide the choice, not price alone. Second, the cost per set drops sharply once a mold exists, which is why the timing of your move to injection molding matters so much.
What Drives the Cost of a Custom Enclosure?
Whatever the process, the same handful of factors push the price up or down:
- Size and volume of plastic. Bigger parts use more material, need bigger machines and take longer to print, cast or cool.
- Number of parts. A base and lid is two tools or two molds. A battery door, button and light pipe can double the count.
- Wall thickness and geometry. Thick walls add material and cycle time; undercuts and side holes need sliders in an injection mold, which adds tooling cost.
- Material. ABS is the economical default. Polycarbonate, PC-ABS, flame-retardant (UL94 V-0) and glass-filled grades cost more.
- Tolerance and cosmetics. Tight fits, mirror-polished or clear surfaces and matching colors across parts all add time.
- Sealing (IP65/IP67). Gasket grooves, overlapping lips and testing add design and tooling work.
- Secondary operations. Painting, EMI coating, heat-set inserts, logo printing and assembly are all charged on top.
3D Printed Enclosures: Cost for 1–50 Units
3D printing needs no tooling, so you pay only for material, machine time and finishing. That makes it the cheapest way to get your first enclosures and to test fit, buttons and connector cut-outs before anything else is committed.
- FDM (ABS, PETG): lowest cost, visible layer lines. Good for fit checks and internal brackets.
- SLA (resin): smooth, detailed surfaces for show models and investor demos.
- SLS / MJF (nylon PA12): strong, functional housings that can handle real use and small pilot batches.
For a medium two-part housing, expect roughly ₹2,500–5,000 (US$26–52) per set at one or two units, falling to ₹1,500–3,000 per set at around 100 units on SLS or MJF. If you also need us to model the enclosure, simple CAD work typically adds ₹1,500–3,000, and complex assemblies more. See our 3D printing cost guide for per-gram and hourly rates, and FDM vs SLA vs SLS to pick the right process.
Best for: prototypes, design iterations, trade-show units and very small batches. Learn more about our 3D printed enclosures and product cases.
Vacuum Cast Enclosures: Cost for 20–300 Units
Vacuum casting copies a 3D printed master into a silicone mold, then casts polyurethane parts that look and feel like injection molded ABS, PC or even clear and flame-retardant plastics. It is the go-to bridge between prototypes and production.
How the cost builds up for a medium (~150 mm) part:
- Master + silicone mold: about ₹15,000–35,000 per part (so roughly ₹30,000–60,000 for a base and lid).
- Per cast part: about ₹700–1,800, depending on resin and finish.
- Mold life: each silicone mold yields roughly 15–20 good parts, so larger batches need extra molds.
- Lead time: first parts in around 5–6 working days.
For 20 sets of our example enclosure, that works out to roughly ₹2,900–6,600 (US$30–69) per set. Because molds must be remade every 15–20 shots, the per-set price does not fall much beyond a hundred or so units. For a full breakdown, read vacuum casting cost in India or see how the vacuum casting process works step by step.
Best for: pilot runs, beta units for customers, certification samples and products that need production-like color and finish before tooling is justified.
Injection Molded Enclosures: Tooling + Per-Unit Cost for 100+ Units
Injection molding has a high upfront cost (the mold) and a very low cost per part. The trick is choosing the right type of tool for your volume:
Swipe sideways to see the full table →
| Tool type | Typical cost (India) | Suits |
|---|---|---|
| Prototype / aluminium tool | ₹50,000–1,50,000 per part | 100 to a few thousand parts |
| Family tool (base + lid in one mold) | About ₹1.5–2.5 lakh for a small enclosure | Low to mid volumes where parts share a material and color |
| Production steel tool (P20 / H13) | ₹1.5 lakh–5 lakh+ per part | 10,000+ parts, long product life |
| Multi-cavity / high precision | ₹5 lakh–25 lakh+ | Very high volumes |
Once the tool exists, each set of our example enclosure costs roughly ₹60–150 in material and machine time. Spread a ₹1.5–2.5 lakh family tool over 1,000 sets and the all-in price is about ₹210–400 (US$2.20–4.20) per set; at 5,000 sets it falls to roughly ₹90–200. Tooling typically takes 2–3 weeks, with samples about a week later.
For the full picture of mold prices and hidden charges, see our injection molding cost guide. If you are ready to tool up, our custom injection molded enclosures service covers design review, tooling, samples and production.
When Does Injection Molding Become Cheaper?
The break-even point is simply where the tool cost, spread over your order, plus the low per-part price drops below the cost of printing or casting each unit. A quick way to estimate it:
Break-even quantity ≈ Tool cost ÷ (Cost per printed or cast set − Cost per molded set)
Example: ₹2,00,000 tool ÷ (₹2,500 cast − ₹100 molded) ≈ 83 sets. Against MJF printing at about ₹2,000 per set, it is roughly 105 sets.
For most small electronics enclosures, that crossover lands somewhere around 100–300 sets. Below it, print or cast. Above it, mold, but only once the design is stable, because every change to a cut mold costs money. Our comparison of 3D printing vs injection molding goes deeper into this decision.
Worked Example: 120 × 80 × 40 mm IoT Sensor Housing
Here is how a typical IoT project moves through all three processes, and what each stage costs for the example enclosure above:
- Design check (3 sets, SLA): about ₹7,500–15,000 in total. You confirm PCB fit, connector openings and button feel.
- Field trial (30 sets, vacuum cast in ABS-like resin): about ₹85,000–1,90,000 in total. Units go to pilot customers and for certification tests.
- Launch (1,000 sets, injection molded with a family tool): about ₹2.1–4 lakh in total, including tooling. Every later batch costs only the part price.
Skipping straight to tooling might look cheaper on paper, but a design change after the mold is cut can easily cost more than the prototype and pilot stages combined. Building smart enclosures? Our IoT enclosure page shows the housings we design and manufacture for connected devices.
Design, Finishing, EMI Coating & Branding Costs
These are the line items most often missing from early budgets. Typical additions:
Swipe sideways to see the full table →
| Extra | What it adds | When you need it |
|---|---|---|
| Enclosure CAD & DFM | One-off design fee; DFM is often 10–15% of tooling | If you only have a PCB or a sketch |
| Painting / soft-touch | Per part; higher for multiple colors | Premium look, color matching |
| EMI / RF shielding coating | Per part, plus masking | EMC compliance for sensitive electronics |
| Heat-set brass inserts | Small cost per insert, installed after molding | Screws that are opened repeatedly |
| Logo printing / laser marking | Small cost per part, plus a screen or setup | Branding, labels, regulatory marks |
| Texture (VDI / SPI) | One-off tooling cost | Hide scratches and sink marks |
| Assembly & packing | Per set; packaging often ₹2–20 per unit | Ready-to-ship units |
As a rule of thumb, add 15–30% to the bare part price to cover these items, plus GST in India or freight and import duty if you are ordering from overseas. If you only have a PCB, start with our custom enclosure design service.
7 Ways to Cut Your Enclosure Cost
- Freeze the design before you tool. Iterate on 3D prints; mold changes are the most expensive changes you can make.
- Keep walls even. Uniform 2–3 mm walls in ABS reduce material, cycle time and sink marks.
- Avoid undercuts. Side holes and clips that need sliders add tooling cost; move them to the parting line where you can.
- Use a family tool. Molding the base and lid in one tool can cut tooling cost noticeably for small enclosures.
- Choose the cheapest material that passes. Don’t specify PC or flame-retardant grades unless your tests or standards need them. Our ABS and polycarbonate molding pages explain the trade-offs.
- Use texture instead of paint. A molded-in texture costs once; paint costs on every part.
- Bridge with vacuum casting. Cast your first 30–100 units while the tool is being made, so sales are not waiting on steel.
Ordering From Outside India?
Many of our enclosure clients are in the US, UK and Europe. Indian tooling costs are typically far lower than local tooling there, and short runs are routine. When you compare quotes, compare the landed cost: tooling, parts, finishing, packing, freight and import duty together. Our guide to outsourcing injection molding to India covers shipping, duties, IP and quality control in detail.
Frequently Asked Questions
What is the cheapest way to make a custom enclosure?
For one to about 20 units, 3D printing. For hundreds or thousands, injection molding, because the tool cost is spread over every part. Vacuum casting sits in between and is usually chosen for its production-like finish.
How much does an injection mold for an enclosure cost?
In India, simple prototype tools start at around ₹50,000 per part. A family tool for a small two-part enclosure is typically ₹1.5–2.5 lakh, and production steel tools cost more. Complexity, size and undercuts drive the price.
What is the minimum order for an injection molded enclosure?
With prototype tooling, runs of around 100 sets are possible. Below that, 3D printing or vacuum casting is usually better value.
Is a 3D printed enclosure strong enough for a real product?
SLS and MJF nylon enclosures are strong enough for many low-volume and industrial products. For consumer products sold in volume, molded ABS or PC gives better surface finish and lower cost per unit.
How long does it take to get enclosures made?
3D printed parts can be ready in a few days, vacuum cast parts from about 5–6 working days, and injection molded parts typically 3–5 weeks after design approval, including tooling and samples.
Do you make IP65 or IP67 enclosures?
Yes. Sealed enclosures need gasket grooves or welded joints designed in from the start, which adds some design and tooling cost. Tell us your IP rating when you request a quote.
The Bottom Line
A custom enclosure can cost anywhere from under ₹100 to several thousand rupees per set. The process you use, and the quantity you order it in, matter far more than the box itself. Print your first few, cast your pilot batch, and invest in a mold once the design is stable and your volumes pass the break-even point.
Get an enclosure quote in 24 hours
Upload your CAD or PCB file and tell us your quantity. We will suggest the most cost-effective process and quote in INR, USD, GBP or EUR.
Request a Quote