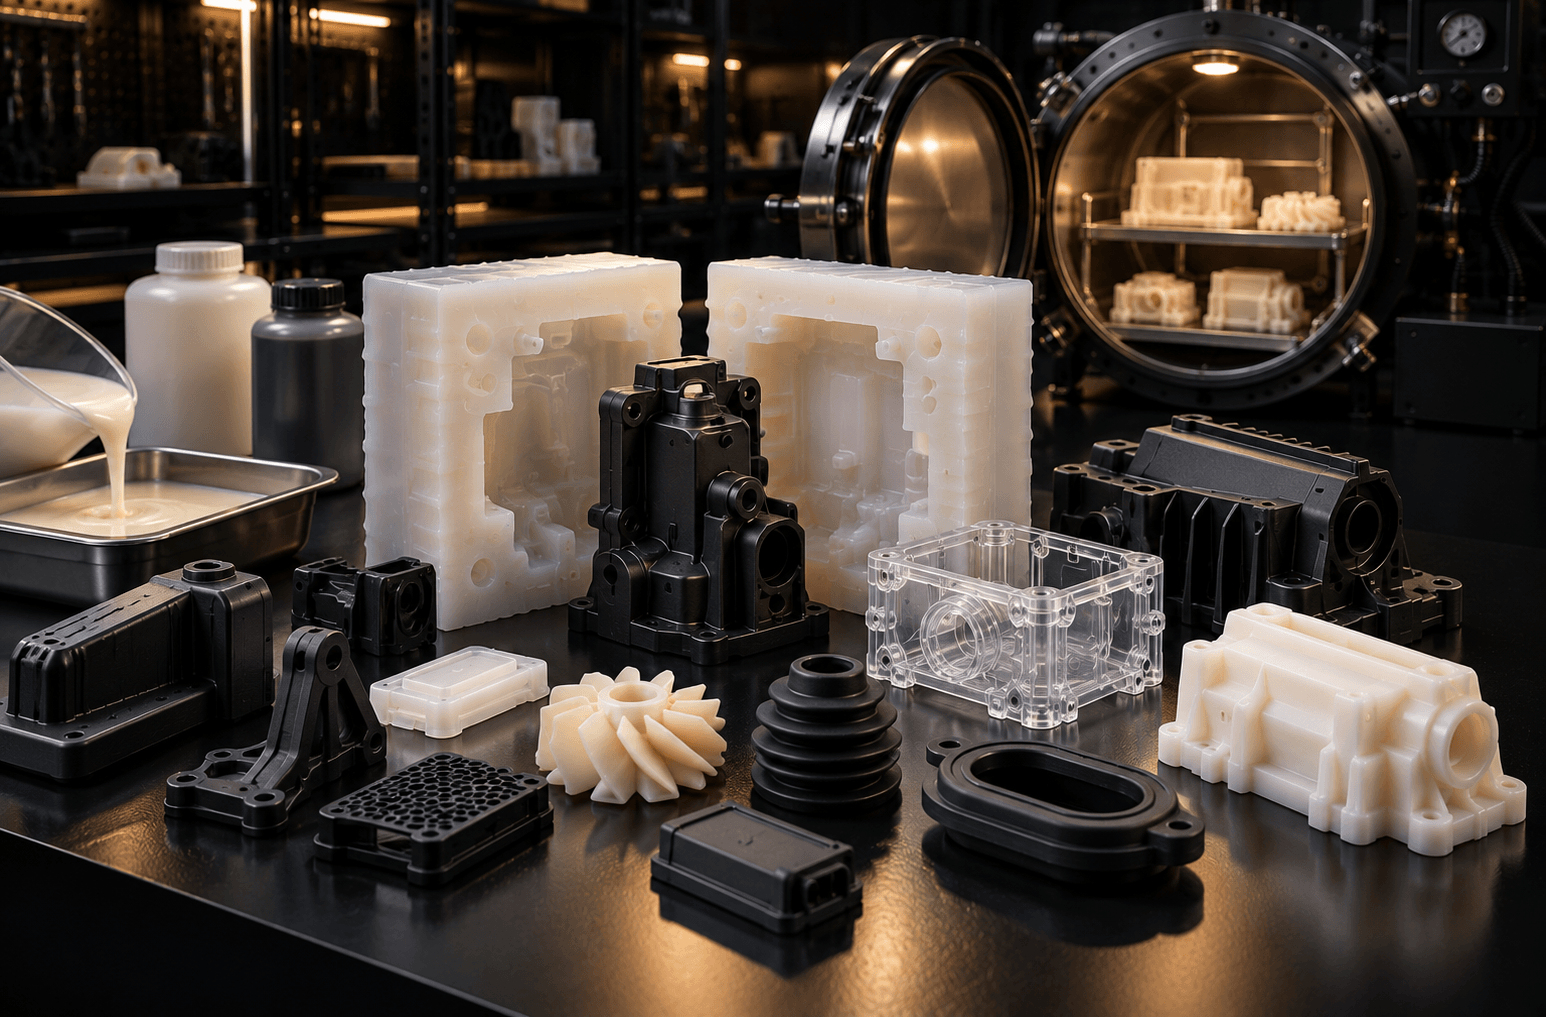
You need 50 parts that look and feel like injection-moulded plastic, for a pilot batch, a trade show, a clinical trial or investor demos. 3D printing them one by one is slow and the finish isn’t quite production-grade. Injection moulding would mean spending lakhs on a steel tool and waiting weeks. This is the gap vacuum casting fills.
This guide explains how vacuum casting works, what it costs in India, which materials you can use, how long it takes and, most importantly, when it is (and isn’t) the right choice for your project.
Quick answer
- What it is: polyurethane (PU) resin poured into a silicone mould under vacuum, producing near production-quality plastic or rubber parts.
- Best quantity: roughly 10–200 parts.
- Mould life: about 15–20 good parts per silicone mould.
- Lead time: as fast as 5–6 working days for first parts at Precious3D.
- Indicative cost: ₹10,000–₹50,000 for the master pattern and mould, plus roughly ₹300–₹3,000 per part (2026, excl. GST).
Key takeaways
- Vacuum casting costs a fraction of injection mould tooling, which makes it ideal for pilot runs and market testing.
- Parts can mimic ABS, PP, PC, clear acrylic and rubber (Shore A 30–90), with colour matching and textures.
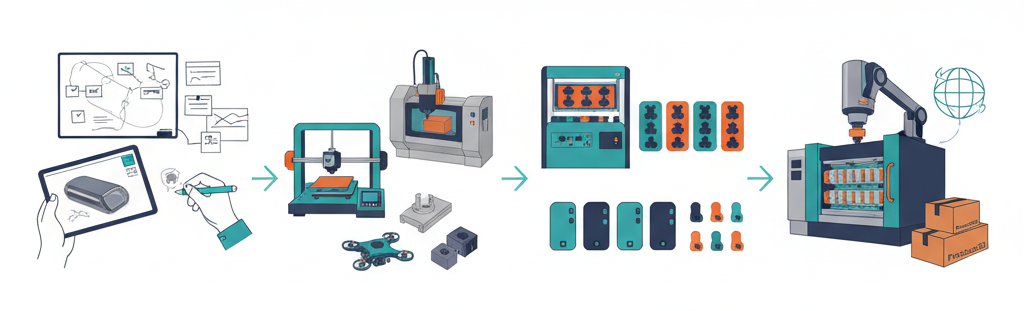
- It beats 3D printing on surface finish and material feel. It beats injection moulding on upfront cost and speed.
- Above a few hundred parts, the per-part cost usually makes injection moulding the better investment.
What Is Vacuum Casting?
Vacuum casting (also called urethane casting or silicone moulding) is a low-volume manufacturing process. A high-quality master pattern is used to make a flexible silicone mould. Liquid PU resin is then poured into that mould inside a vacuum chamber. The vacuum pulls out air bubbles, so the resin fills every detail of the mould, giving smooth, bubble-free parts that closely match the master.
Because the silicone is soft and flexible, it handles undercuts and fine textures that would need complex slides in an injection mould. Because the resin can be tuned, one mould can produce parts in different colours, hardnesses or material types.
How the Vacuum Casting Process Works
- Master pattern. A master model is 3D printed (usually SLA resin for its smooth surface) from your CAD file, then sanded and finished. Any defect on the master will appear on every part, so this step matters most.
- Silicone mould making. The master is suspended in a casting box, gates and vents are added, and liquid silicone is poured around it. Once cured (typically 8–16 hours), the mould is cut open along a parting line and the master is removed, leaving an exact cavity.
- Resin preparation. Two-part PU resin is mixed, coloured if required, and degassed.
- Casting under vacuum. The mould is closed and resin is poured into it inside a vacuum chamber, removing trapped air.
- Curing. The filled mould is cured in an oven, typically for 1–3 hours depending on the resin.
- Demoulding and finishing. The part is removed, gates are trimmed, and it is finished: painted, textured, inserts added or assembled as needed. The mould is reused for the next part.
Vacuum Casting Cost in India (2026)
Vacuum casting cost has three parts: the master pattern, the silicone mould(s) and the per-part casting cost. The figures below are indicative 2026 ranges to help you budget. They exclude GST, CAD design and shipping.
← Swipe to see the full table on mobile
| Part size (example) | Master + mould | Per part | Example: 20 parts total |
|---|---|---|---|
| Small (knob, clip, cap, ~50 mm) | ₹8,000 – ₹15,000 | ₹250 – ₹700 | ₹13,000 – ₹29,000 |
| Medium (handheld device housing, ~150 mm) | ₹15,000 – ₹35,000 | ₹700 – ₹1,800 | ₹29,000 – ₹71,000 |
| Large (panel, cover, ~300 mm+) | ₹35,000 – ₹80,000 | ₹1,800 – ₹5,000 | ₹71,000 – ₹1,80,000 |
Indicative only. Your exact quote depends on your CAD file, material, finish and quantity. For 3D printing price benchmarks, see our complete guide to 3D printing cost in India.
What affects vacuum casting cost
- Part size and volume: bigger parts need more silicone and more resin.
- Quantity: each mould yields about 15–20 parts, so 60 parts typically need 3–4 moulds.
- Complexity: deep undercuts, thin walls and multiple parting lines add mould-making time.
- Material: clear, flame-retardant and high-temperature resins cost more than standard ABS-like resin.
- Finish: painting, soft-touch coating, texturing, printing logos or adding threaded inserts all add cost.
- Overmoulding: rubber-over-hard (e.g. a grip on a handle) requires a second casting step.
Vacuum Casting Materials
Vacuum casting uses PU resins formulated to simulate common production plastics. This lets you test parts that look, feel and perform close to your final injection-moulded product.
← Swipe to see the full table on mobile
| Resin type | Simulates | Typical uses |
|---|---|---|
| ABS-like | ABS | Enclosures, housings, consumer products |
| PP-like | Polypropylene | Snap-fits, living hinges, containers |
| PC-like (clear) | Polycarbonate / acrylic | Lenses, light pipes, transparent covers |
| Rubber-like (Shore A 30–90) | Silicone, TPE, TPU | Seals, gaskets, grips, keypads, wearables |
| Glass-filled / rigid | Glass-filled nylon | Stiff structural parts, brackets |
| High-temperature | Engineering plastics | Parts near motors, lighting, automotive |
| Flame-retardant (UL94 V0 type) | FR ABS / PC | Electrical and electronics housings |
Resins can be colour-matched (including Pantone references), cast with textured or high-gloss surfaces, and fitted with metal inserts during casting. Not sure which material your part needs? Share how it will be used and our team will recommend a resin.
Lead Time: How Fast Can You Get Vacuum Cast Parts?
A typical vacuum casting project at Precious3D follows this timeline:
← Swipe to see the full table on mobile
| Stage | Typical time |
|---|---|
| CAD review and quote | 24–48 hours |
| Master pattern (3D print + finishing) | 1–2 days |
| Silicone mould making and curing | 1–2 days |
| Casting and finishing (first batch) | 1–2 days |
| First parts in hand | From 5–6 working days |
Larger quantities, multiple moulds, painting or complex assemblies add time. Compare this with 4–8 weeks for a typical injection mould tool. For a full comparison see injection moulding cost in India.
When to Use Vacuum Casting (and When Not To)
Vacuum casting is a great fit when you need
- 10–200 parts that look and feel like production parts
- Pilot batches for user testing, crowdfunding or market validation
- Trade show, photoshoot or investor samples with a showroom finish
- Functional testing in materials close to the final plastic
- Rubber or overmoulded parts such as seals, grips and soft-touch surfaces
- Bridge production while your injection mould tool is being made
- Clear parts such as lenses and light covers
Choose something else when
- You need 1–5 parts: 3D printing is faster and cheaper with no mould cost.
- You need 500+ parts: injection moulding gives a much lower per-part price.
- The part needs very tight tolerances (tighter than roughly ±0.15–0.3 mm per 100 mm).
- The part must be made in the exact certified production polymer for regulatory or certification testing.
- Metal parts are required. Consider metal 3D printing or machining.
Vacuum Casting vs 3D Printing vs Injection Moulding
← Swipe to see the full table on mobile
| Factor | 3D printing | Vacuum casting | Injection moulding |
|---|---|---|---|
| Best quantity | 1–20 | 10–200 | 500+ |
| Upfront tooling | None | Low (silicone mould) | High (steel/aluminium tool) |
| Per-part cost | Medium–high | Medium | Very low |
| Lead time | 1–5 days | 5–10 days | 4–8 weeks (tooling) |
| Surface finish | Good (layer lines on FDM) | Excellent, production-like | Excellent |
| Material options | Print materials | PU resins that simulate plastics & rubbers | True production polymers |
| Design changes | Free | New master + mould | Costly tool modification |
For a deeper comparison that includes soft tooling, read low-volume manufacturing in India: 3D printing vs vacuum casting vs soft tooling. If you’re weighing long-term production, see 3D printing vs injection moulding.
Industries That Use Vacuum Casting
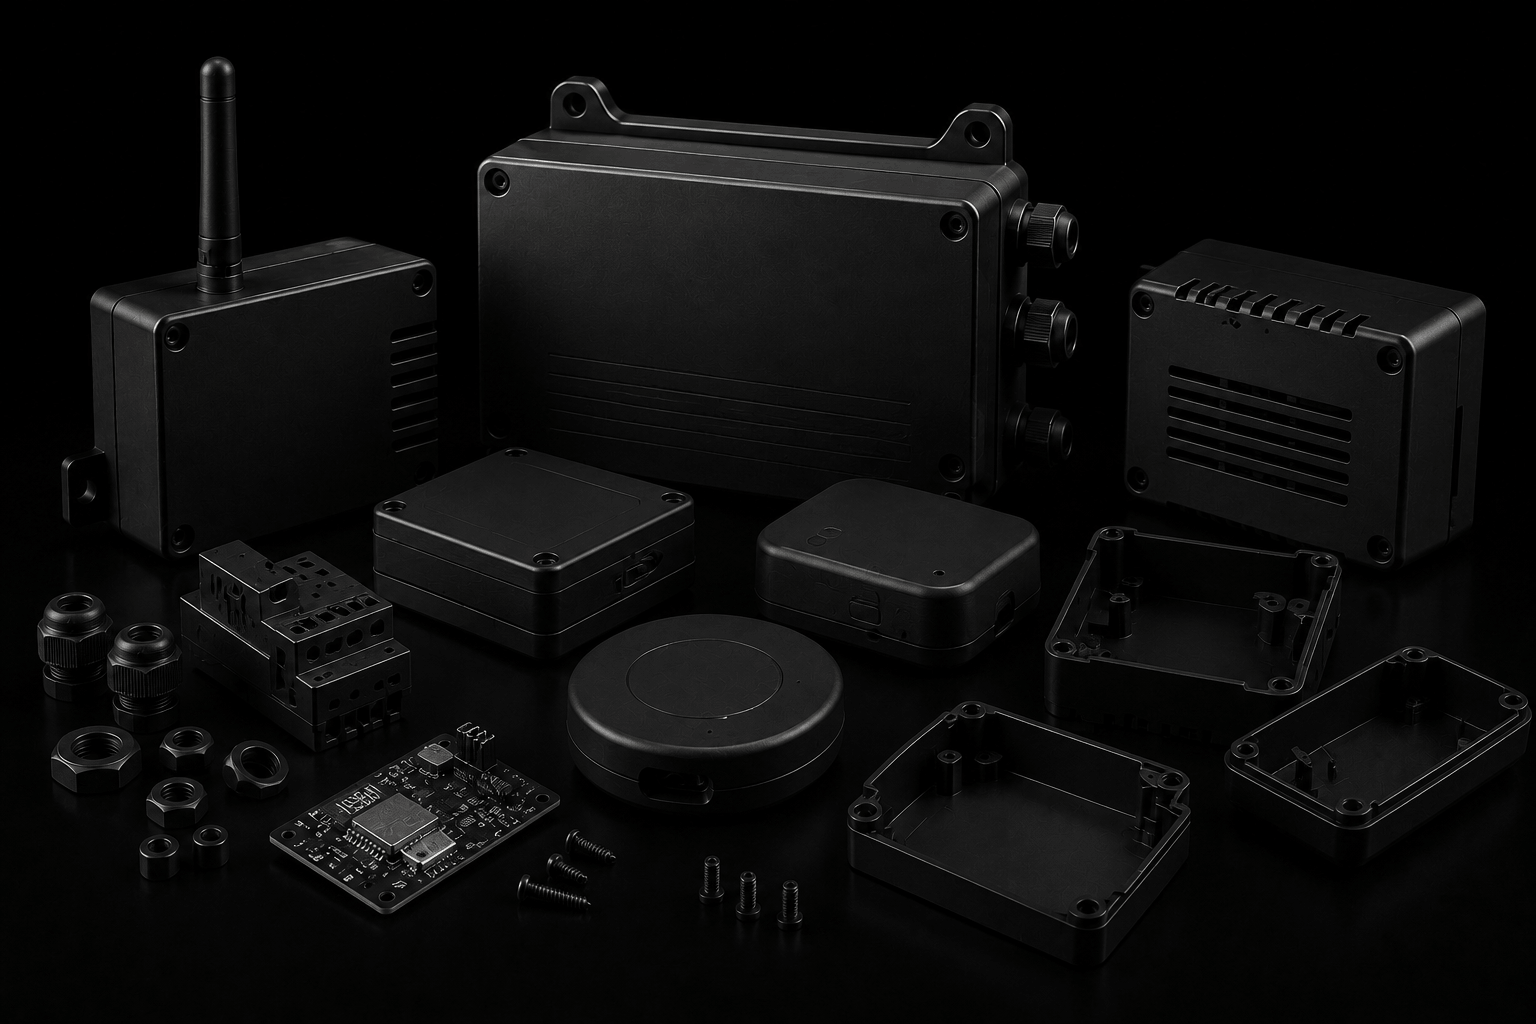
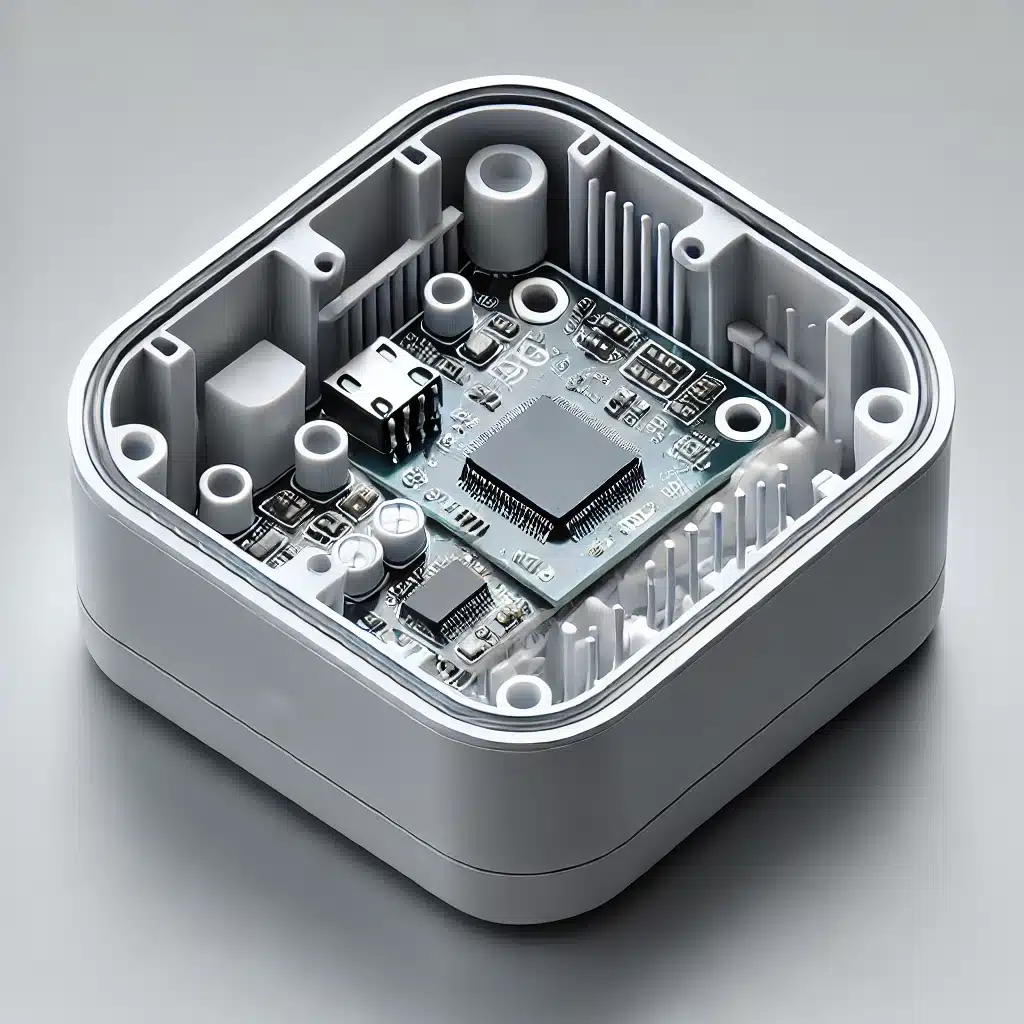
- Electronics and IoT: pilot batches of custom enclosures before committing to tooling.
- Medical devices: housings, handles and soft-touch grips for usability studies (see injection moulding for medical devices for the production stage).
- Automotive and EV: interior trims, light covers, connectors and test parts.
- Drones and robotics: canopies, covers and rubber dampers (see 3D printed drone parts).
- Consumer products and appliances: market-test units, packaging samples and retail displays.
- Film, events and props: repeatable detailed replicas, trophies and branded items.
Design Tips for Vacuum Casting
- Wall thickness: aim for 1.5–4 mm. Very thin walls (<1 mm) may not fill properly.
- Draft angles: not strictly required thanks to flexible silicone, but 1–2° makes demoulding easier and extends mould life.
- Keep thickness uniform: thick sections can shrink or sink unevenly.
- Design for the final process: if the part will eventually be injection moulded, design it with moulding rules now so the vacuum cast parts are a true test.
- Plan inserts early: threaded brass inserts can be cast in or added after casting. Tell us at the quote stage.
- Send STEP files where possible. If you only have a sketch, our 3D CAD design team can help.
Need 10–200 production-quality parts, fast?
Send us your CAD file, quantity and material requirements. We’ll recommend the best route (3D printing, vacuum casting or injection moulding) and send a quote within 24–48 hours.
Request a Quote Call +91 86100 39566Frequently Asked Questions
How many parts can one silicone mould produce?
Typically 15–20 good-quality parts. The exact number depends on part geometry, resin type and finish requirements. For larger quantities, we make multiple moulds from the same master.
How much does vacuum casting cost in India?
As an indicative 2026 range, expect roughly ₹8,000–₹80,000 for the master pattern and mould depending on part size, plus about ₹250–₹5,000 per part. A small batch of 20 medium-sized housings often lands between ₹30,000 and ₹70,000, excluding GST.
Is vacuum casting cheaper than injection moulding?
For low quantities, yes, by a wide margin, because there is no expensive steel or aluminium tool. Per part, though, injection moulding becomes far cheaper once you pass a few hundred units.
How accurate are vacuum cast parts?
A typical tolerance is around ±0.15–0.3 mm per 100 mm, depending on part size and geometry. Accuracy depends heavily on the quality of the master pattern.
Can vacuum cast parts be transparent?
Yes. Clear PC-like and acrylic-like resins can produce transparent parts such as lenses, light pipes and covers, with polishing for optical clarity.
Can you cast rubber or soft-touch parts?
Yes. Rubber-like PU resins are available from soft (around Shore A 30) to firm (around Shore A 90). We can also overmould a soft layer onto a rigid part.
Are vacuum cast parts strong enough for functional testing?
For most fit, function and user testing, yes. PU resins closely mimic the behaviour of ABS, PP and rubbers. For certification or long-term durability testing in the exact production polymer, injection moulded samples are recommended.
Do you deliver vacuum cast parts across India?
Yes. We manufacture in Chennai and ship to clients across India, including Bengaluru, Hyderabad, Mumbai, Pune, Delhi NCR and Coimbatore.
The Bottom Line
Vacuum casting sits in the sweet spot between 3D printing and injection moulding. It gives you production-quality parts in days rather than weeks, in quantities of 10–200, without the cost of hard tooling. If you’re preparing a pilot batch, a product launch or a usability study, it is often the smartest and most cost-effective route.
Precious3D offers 3D printing, vacuum casting and injection moulding under one roof in Chennai, so we can recommend the right process for your quantity and budget. Get a vacuum casting quote today.